An online course is so much more than teaching students new skills.
The marketing aspect is huge and shouldn’t be underestimated. If you’re keen to know more about what it takes to launch an online course, I’ve recapped the first launch of Minimum Viable Video in detail here.
Next to teaching and marketing, there’s a third aspect that’s often overlooked – the operational side.
What does it mean to run an online course on a daily basis? I can already tell you there are a lot of small time-consuming tasks you’re probably not thinking about right now.
As a former Project Manager and Lean Six Sigma Black Belt, I dig this stuff. Establishing processes and standard operating procedures is totally my thing.
I want to share with you what I’ve learned from running two cohort-based courses simultaneously as the course manager for Minimum Viable Video and the GLUE IT! Practitioner.
In this article, I break down the tasks that make the whole learning experience possible. Here’s what I’ll cover:
- Scheduling your live sessions
- Onboarding your students
- Onboarding survey
- Skill assessment
- Onboarding email
- Onboarding calls
- Running your live sessions
- Before each session
- During each session
- After each session
- Supporting students during the course
- Offboarding your students
- Offboarding survey
- Testimonials
- Ongoing support
But before I get into it…
What’s the goal here?
David Perell repeats at the beginning of every Write of Passage cohort, “Students should feel challenged, but never confused.”
That means your students need to know at any given point…
- What they can expect during the course
- When classes are going to happen and how to attend them
- How to access the course materials and interact with other students
- What the homework is, and how they can get help if they struggle
Your students need a learning environment that makes them feel safe and supported so they can concentrate on leveling up their skills. It should be free from distractions like figuring out the course software or wondering where to find the Zoom link for the next session.
Let me show you how you can create this environment. If you’re the course creator, then it might be worth getting help in running the course. With a course manager handling the tasks below, you can fully concentrate on teaching.
1. Scheduling your live sessions
First, decide on the dates and times for your live sessions.
Then, you’ll want to make sure that your students know exactly when your sessions will take place, so they don’t miss anything.
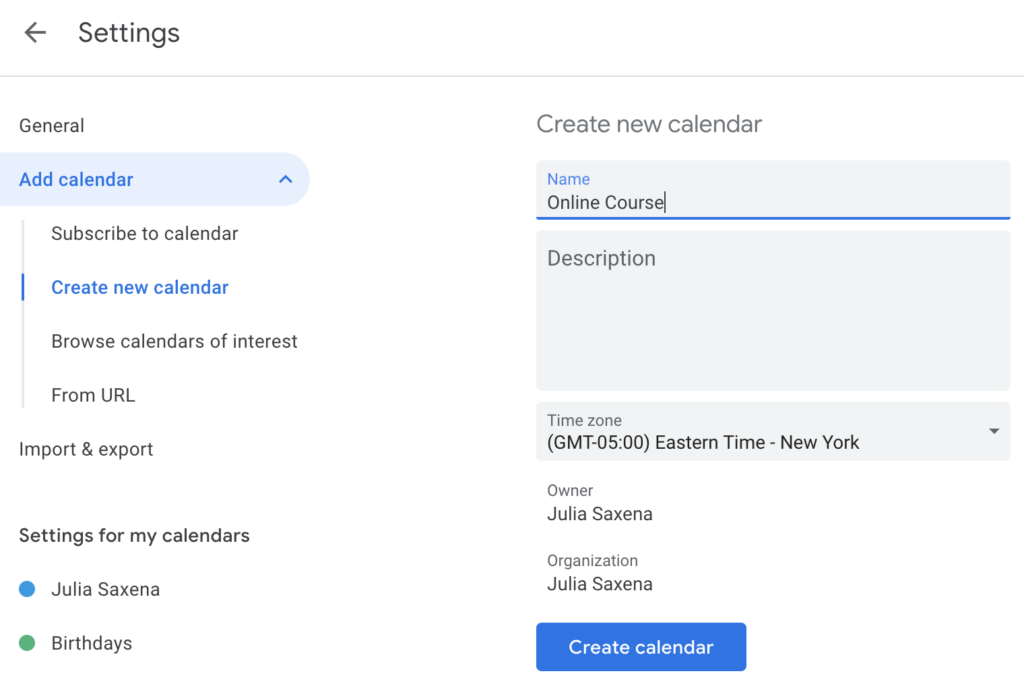
The easiest way to do this is to create a separate calendar within your Google Calendar for your next cohort.
Go to Settings, Add calendar, Create new calendar.
Now, you’ll need to schedule your sessions in Zoom or any other web conferencing app (Google Meet is an alternative). When using Zoom, you’ll have to opt for at least a Pro account, which allows you to host up to 100 participants.
I’d recommend installing the Zoom Scheduler for Chrome, so you can automatically generate the Zoom meeting links when you’re scheduling your sessions in your Google calendar. This will save you a lot of time.
Here’s the official Zoom explanation on how to use the Chrome extension to schedule your meetings.
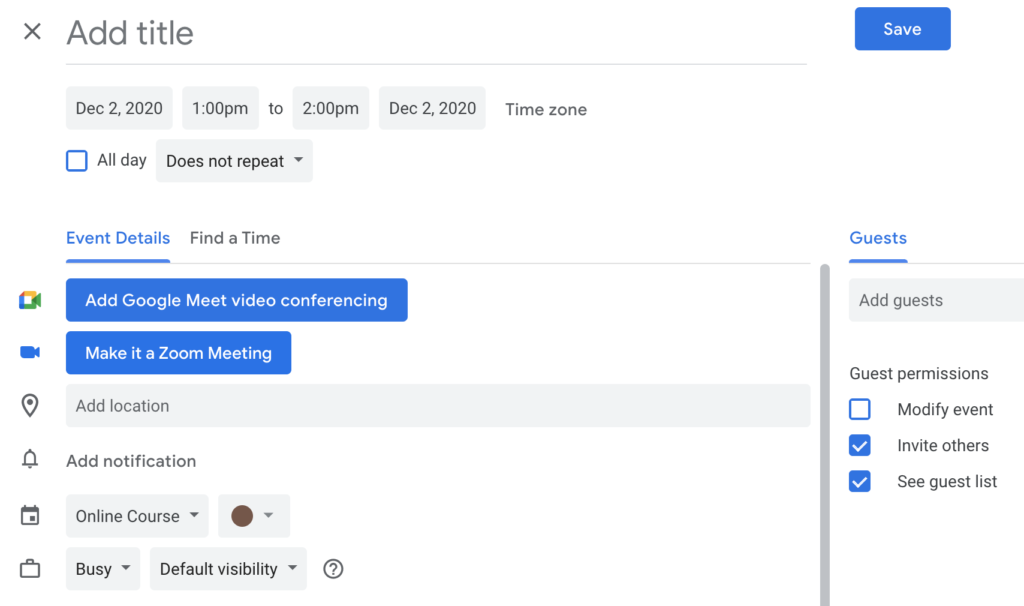
Choose “Make it a Zoom Meeting” to automatically generate the meeting link. And don’t forget to select the calendar you’ve created within your Google calendar.
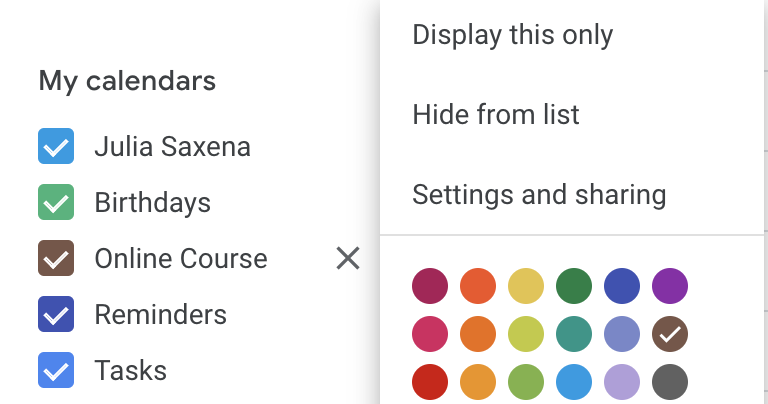
Once you’ve scheduled all your sessions, go to “Settings and sharing” for your online course calendar.
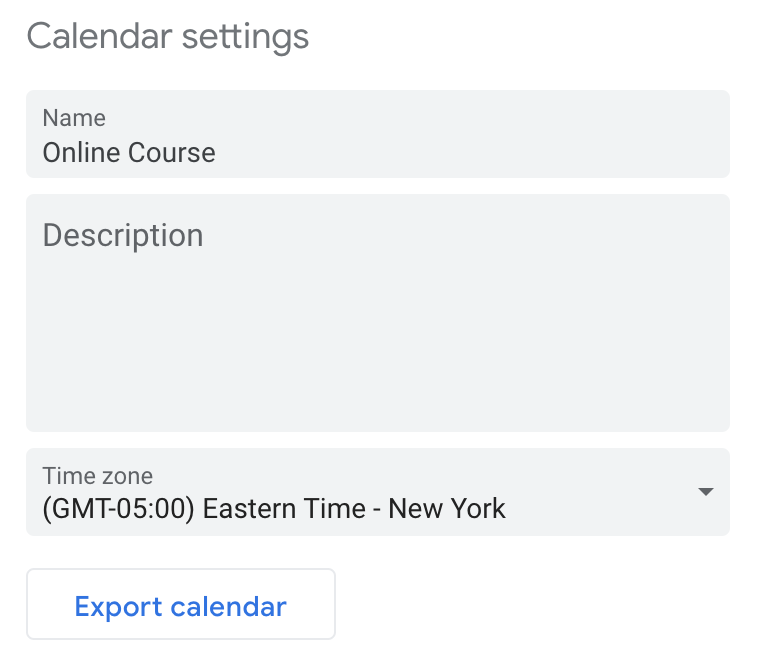
Select “Make available to public” and click on “Get shareable link” to copy the link to your calendar that you can share with your students. Once someone clicks on the link, the calendar will be added to their Google calendar. Any changes will be synced automatically, so your students are always up to date on your course schedule.

Not everyone uses Google calendar, though. You can also export your calendar as an .ics file, which your students can then import to their calendar software of choice. But in this case, any changes you make to the schedule won’t be reflected, obviously.
2. Onboarding your students
Onboarding is crucial when a new employee joins a company and equally important for your new students. A solid onboarding process clarifies a lot of questions, sets the right expectations, and especially the mood for what’s to come.
There are four parts to creating an exceptional onboarding experience: an onboarding survey and skill assessment, an email, and a call. The latter is optional and depends on the size and complexity of your course.
Onboarding survey
Asking your students to complete an onboarding survey gives you three advantages:
- You get to know your students better and can tailor the course to their needs.
- You get insights into their pain points and aspirations, which is valuable input for your copywriter.
- Your students get to articulate their goals for the course and are hence more committed to achieving them.
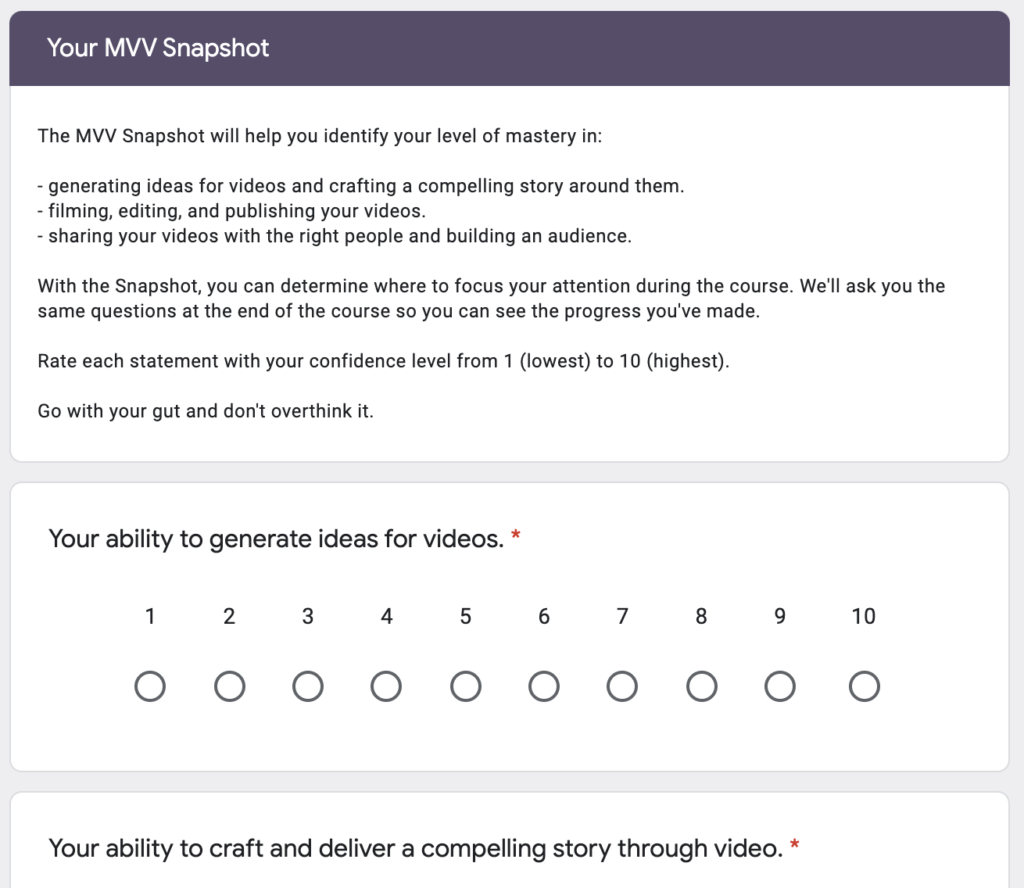
Here’s the beginning of the Minimum Viable Video onboarding survey:
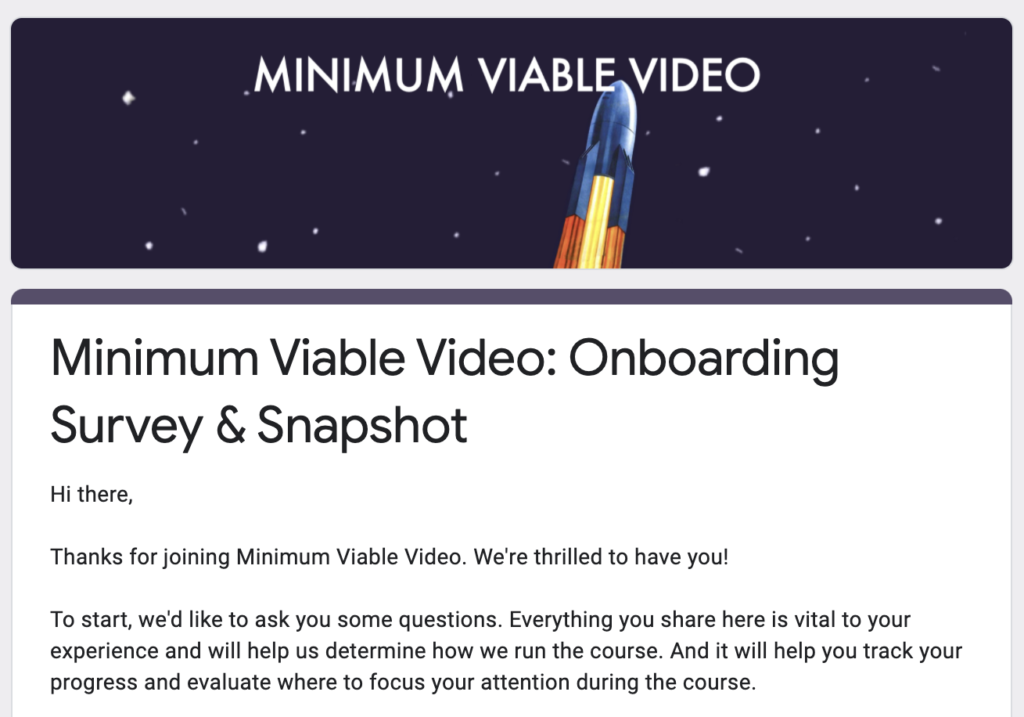
The survey is easy to set up in Google Forms, but you could also use a more sophisticated survey tool like Typeform.
Your survey should cover the following:
- Demographics such as gender, age, and country of residence
- Background such as education, occupation, industry
- How they heard about your course
- What the biggest challenge is they’re trying to overcome
- What they want to get out of the course
- Anything specific you could do to make the course a success for them
- A self-assessment of their current skill and ability levels
The last point is a particularly crucial part of the onboarding survey, and I’ll go into more details below.
Skill assessment
How will your students, and especially you, know that they have improved? That the course was a success?
Many online courses teach soft skills which are notoriously difficult to measure. But, there’s a way to do it – with a self-assessment of their skills at the beginning and the end of the course. You could even add one in the middle if you’re feeling fancy.
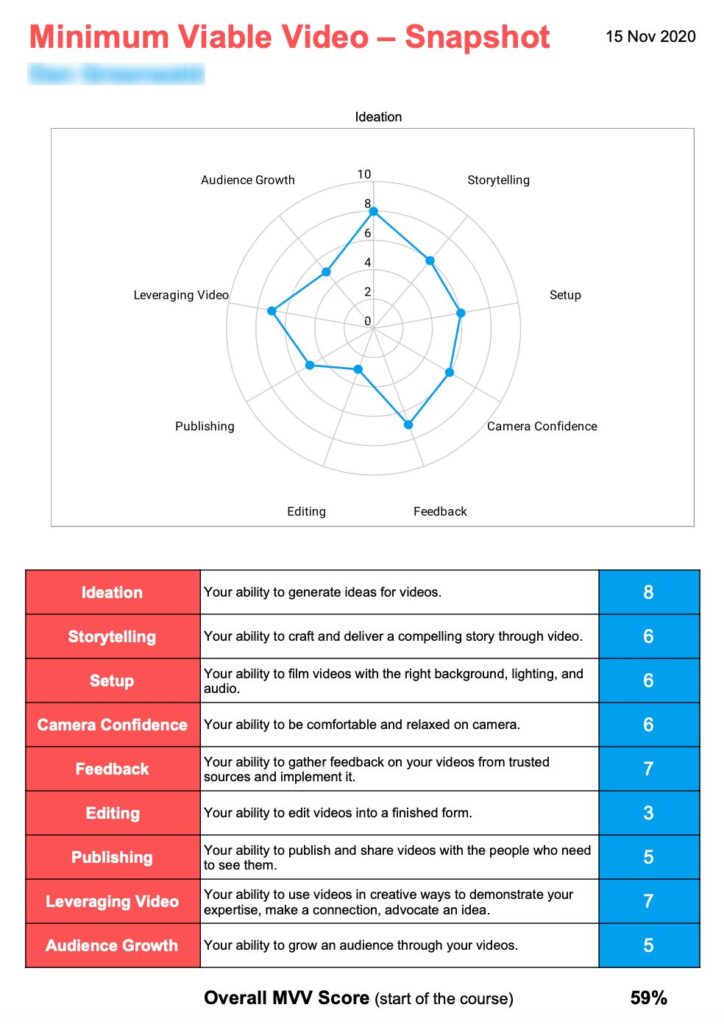
To create your skill assessment (also called a snapshot), identify the key skills your course focuses on. Let your students rate their confidence in their abilities in each area on a scale from 1 (low confidence) to 10 (high confidence).
The results of the self-assessment are best visualized in a spider chart, like the one below. Your students get an impression of their starting point and a better understanding of where they should focus their attention during the course.
I’ve created the snapshots manually using Google Sheets and sent them individually to our students. If you want to know exactly how this is done, send me an email at julia@juliasaxena.com, and I’m happy to share the process with you.
If you have a large cohort and manually producing these snapshots isn’t feasible, MySnapshot.co is a service that automates this process.
Onboarding email
After your sales emails, this is probably the most important message you’ll send to your students.
This email communicates everything that your students need to know and do when they sign up. It’s likely going to be a long email, but you’ll have everything important in one place.
Your onboarding email should include the following information:
- The course schedule (link to the Google calendar you set up)
- A prompt to take the onboarding survey
- Any other preparations or pre-work your students need to complete
- How to access the course community, if you’ve set up a place for your students to interact (which is highly recommended)
- How to schedule their onboarding call, if you plan on running them
- Who to reach out to if they have questions
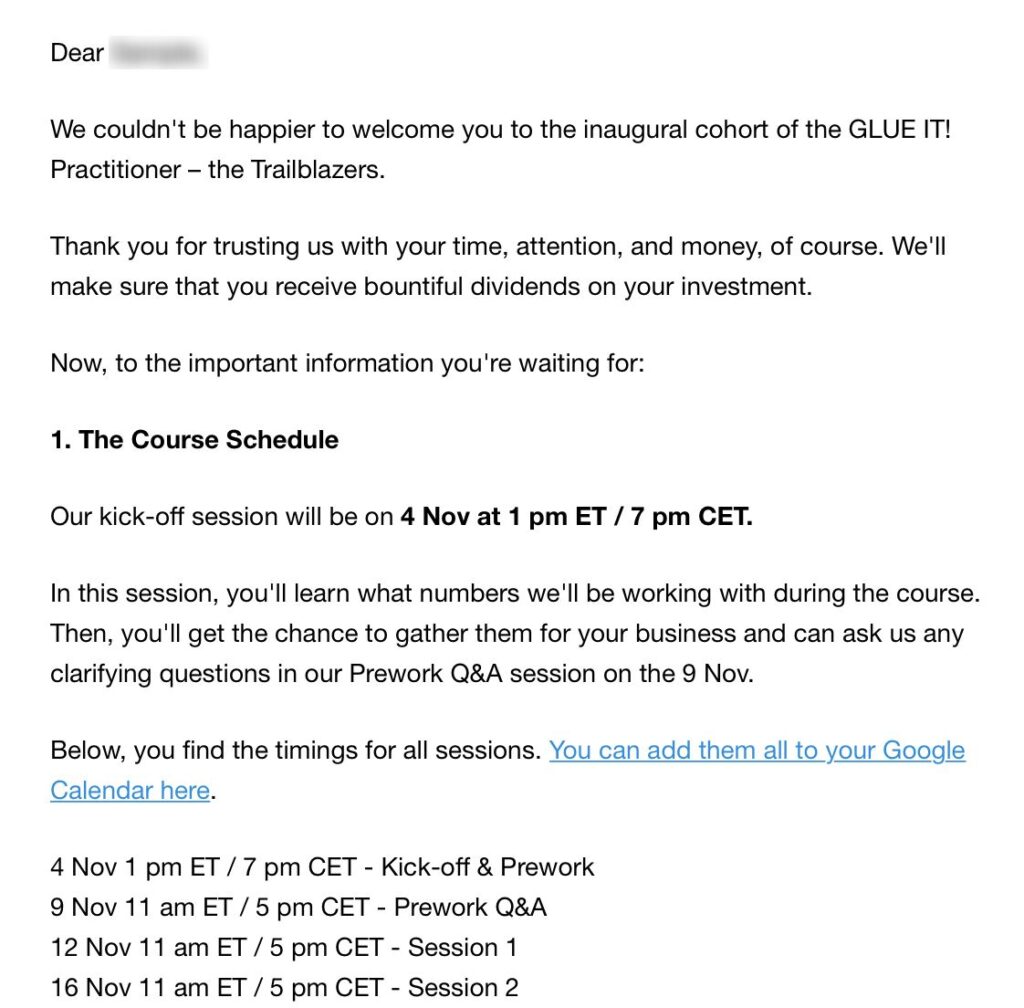
Here’s the start of the onboarding email we sent to students of the GLUE IT! Practitioner course:
Ideally, you automate this email, so it’s sent out right after a new student has enrolled in your course without you having to lift a finger.
Onboarding call
Meeting your students 1:1 or in small groups for a 30-min onboarding call sounds like a lot more work. And it is. But it also has a ton of benefits:
- You can get to know your students even better and really dig into how you can provide the best experience.
- You can run through how the course works and answer any questions they may have to ensure that everyone starts on the same page.
- They can already meet other students and start forming connections.
With a scheduling tool like Calendly, you can let your students choose a date/time that works for them out of your calendar.
3. Running your live sessions
Your live sessions are where the magic happens in your course. But just showing up on Zoom on the hour isn’t enough, unfortunately. There’s a little more work involved.
Before each session
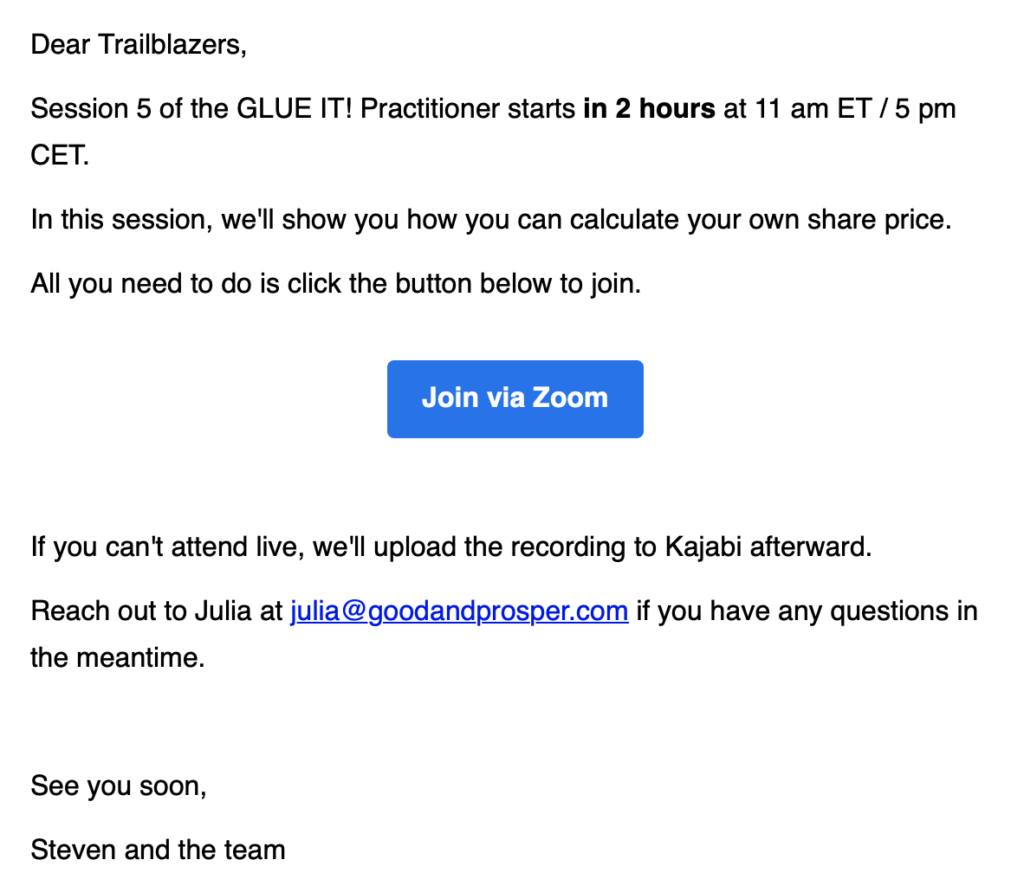
Schedule a reminder email 2 hours before the start of every session that includes the Zoom link to join.
Here’s an example:
During each session
Make sure to hit record and save the chat (which usually happens automatically in Zoom). When you’re sending your students into breakout rooms, pause the recording and restart it as soon as everyone is back. Otherwise, you’ll have to edit out some long silences.
After each session
As soon as possible after the session, upload the recording, the slides, the chat, and any other resources to your course platform.
Ideally, chop up the full-length recording into smaller bite-sized chunks, making it easier for your students to revisit certain parts of your session.
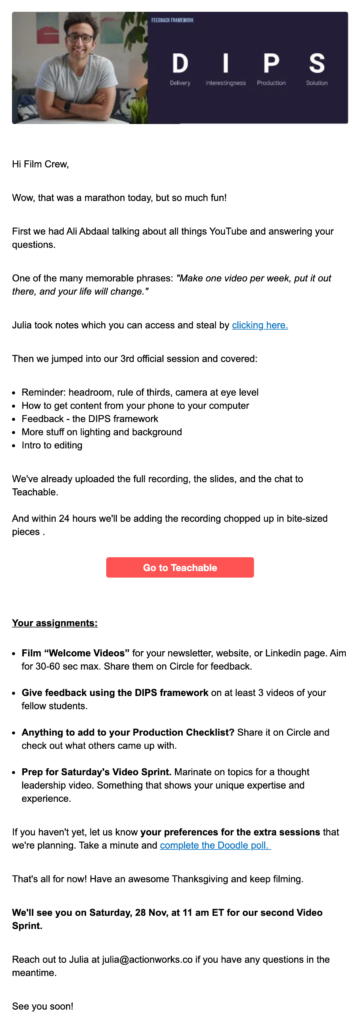
Then write and send a recap email that includes:
- What you’ve covered in the session
- How to access the recording and other material
- The assignments or homework for your students
- When the next session will take place
- Anything else they need to know
- How to get help if they need any
I’d also recommend posting the assignments on your community platform, so there’s no doubt about what your students have to do next.
Here’s an example of a recap email I’ve sent out to the students of Minimum Viable Video:
4. Supporting students during the course
I’ve taken A LOT of online courses in the last years. Most of them were the pre-recorded type. That often meant, as soon as I had paid and entered the student portal, the communication from the creator’s side stopped. No one ever checked in with me to see how I’m doing and if I’m getting value out of the course. Disappointing.
When you’re running a cohort-based course, you have an open communication channel via your live sessions. Give your students enough space to ask questions in designated Q&A time.
But not all students feel comfortable to speak up in large groups to admit they’ve hit a roadblock or have doubts. If you really want to take the student experience to the next level, check in with them privately, via a direct message.
Also, it should always be crystal clear who your students can reach out to if they run into any problems such as technical difficulties or anything else.
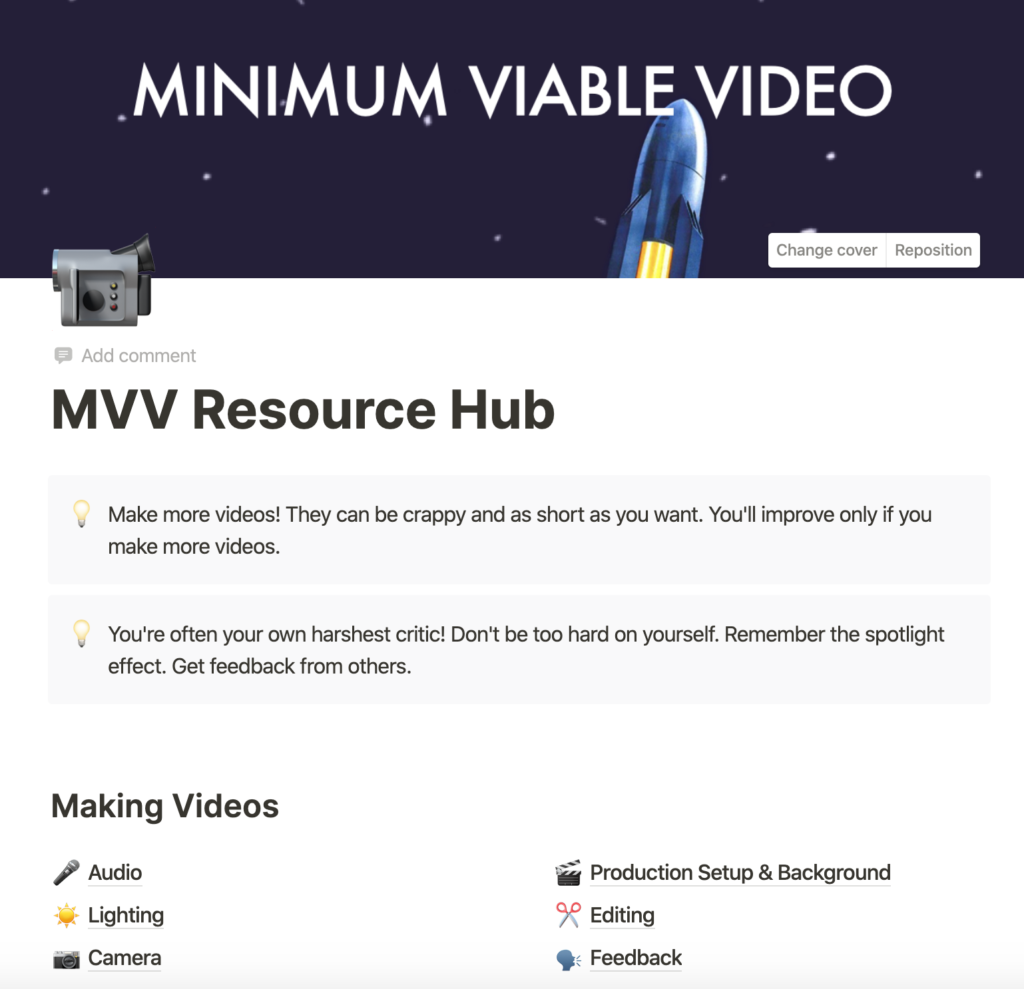
Setting up a knowledge base or resource hub to answer the most commonly asked questions and gather the most important insights from the course is a smart idea, too. Notion is the perfect, free tool for this.
Here’s an example of the Minimum Viable Video Resource Hub:
5. Offboarding your students
Nailing the ending of your course is crucial for two reasons:
Number one, learning doesn’t stop with your final live session. Before you hit “End Meeting” for the last time and release your students into the wild, you should have a plan for how you’ll continue to support them on their journey.
Your students’ success is ultimately your success. If they crush it in real life with the help of your course, it will ultimately reflect positively on you.
Number two, according to the Peak-end rule, we judge an experience disproportionately based on how it felt at its most intense point and its end.
So, having a thought-out offboarding process in place can help leave a lasting positive impression on your students. This has three components: an offboarding survey, testimonials, and ongoing support.
Offboarding survey
Surveying your students at the end of the course provides valuable input for how you can improve further.
Here’s what your survey can cover:
- What part of the course was most helpful
- Which exercises and assignments were most helpful
- How you delivered on the course promise
- If they achieved their goals
- What their biggest wins or breakthroughs were
- How you could improve the course
- Self-assessment of their skills and abilities after the course
The last point will measure your students’ progress and show black on white how much they’ve improved during the course.
Testimonials
You already know that having compelling testimonials is paramount to building trust with prospective students.
The end of the course is the perfect opportunity to ask your students to give you a written, or even better, video testimonial. Ask them to share why they decided to join the course and what concrete wins and results they achieved.
Ongoing support
What are the logical next steps for your students after your course? How can they maintain their momentum and continue to get results?
Here are a few ideas to continue to support them on their journey:
- Slack, Whatsapp, or Twitter DM groups where students can continue to interact
- Office hours where they can ask questions
- Student-led meet-ups and check-ins
- Offer a membership for continued support
That’s it! Now you should have a better idea of what’s needed to run a cohort-based online course and create a transformative learning environment.
If you want to chat about it more, drop me an email at julia@juliasaxena.com.